Not all soldering irons and
tips are the same.
Order yours today to see the difference!
Welcome to ISO-TIP
There’s a lot in our name. For more than 40 years we’ve been building the 7000 series portable soldering irons and the pro’s tell us they stand apart from the rest.
Our Isolated Tip design gives high temps fast at the push of a button, up to 900°F in less than 10 seconds! You might find yourself done with the job while other irons are still heating up. By isolating the tip we prevent electrical leakage that may cause component damage while soldering. Most portable soldering irons offer only a few tip choices, so over the years we have developed more than 20 tips to meet your soldering needs. Our High Efficiency tips give you a quicker heat-up time and use less battery life. The Long Life tips are nickel plated and designed for more continual use and will meet the needs of your tougher tasks.

ISO-Tip
There’s a lot in our name. For more than 40 years we’ve been building the 7000 series portable soldering irons and the pro’s tell us they stand apart from the rest.
Our Isolated Tip design gives high temps fast at the push of a button, up to 900°F in less than 10 seconds! You might find yourself done with the job while other irons are still heating up. By isolating the tip we prevent electrical leakage that may cause component damage while soldering. Most portable soldering irons offer only a few tip choices, so over the years we have developed more than 20 tips to meet your soldering needs. Our High Efficiency tips give you a quicker heat-up time and use less battery life. The Long Life tips are nickel plated and designed for more continual use and will meet the needs of your tougher tasks. Our long list of standard tips will work well for your general soldering needs. For over 40 years, professionals have looked to us for advancements in portable soldering and we have enjoyed meeting that challenge.
If you’ve never tried one of our cordless soldering irons we hope you will. We also supply other “tools worth discovering” for heating, finish work and the tough soldering jobs. If you have a need let us know, we do appreciate input from the people that use our products. Not all cordless soldering irons and especially tips are the same. Let us know what you think, we enjoy what we do and appreciate the people we do it for.
Thanks for visiting us
Your Team at Iso-Tip
Featured Products
-
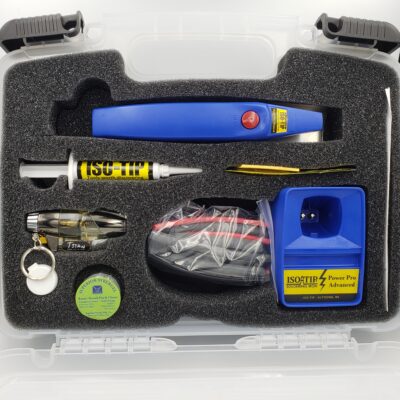
Power Pro Advanced Cordless Soldering Tool Kit – Model #8810
$151.82 -
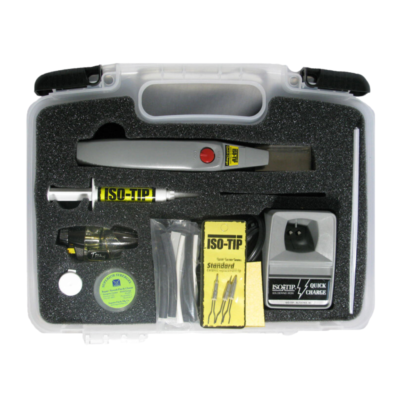
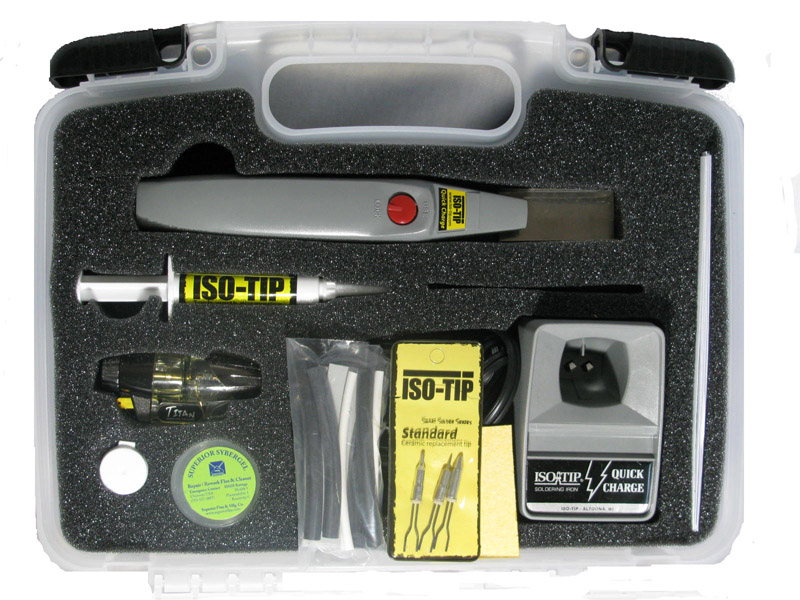
Iso-Tip Quick Charge Cordless Soldering Tool Kit – Model #7710
$121.82 -
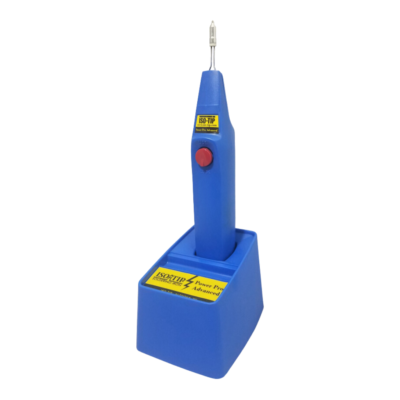
Iso-Tip Power Pro Advanced Cordless Soldering Iron Kit – Model 8000
$92.28 – $105.24 -
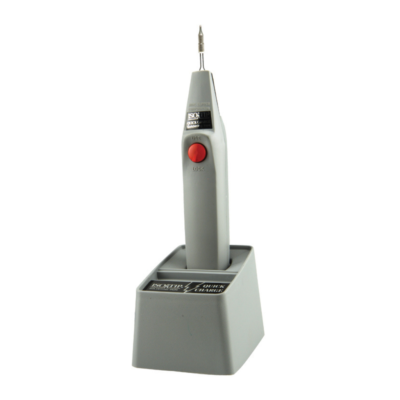
Iso-Tip Quick Charge Cordless Soldering Iron Kit – Model #7700
$62.69 – $79.52
Product Updates and Quick Fixes
Receive Monthly E-mails About Iso-Tip Tips and Tricks.
Sign up below for 10% off!
Blogs
#7710 Soldering Iron Review
Recently, YouTuber KK6USY Ham Radio Adventures expressed interest in experimenting with one of our soldering irons. After some discussions, he decided to make a review on our #7710 soldering iron kit! To purchase our #7710 soldering iron kit, click here! At the start...
Best Portable Soldering Iron
Recently, YouTuber KM4ACK expressed interest in experimenting with one of our soldering irons. After some discussions, he decided to make a review on our #7710 soldering iron kit! Based on the review's title being 'Best Portable Soldering Iron', we already have an...